How it runs
Process
Roof work goes wrong in predictable places: assessing too little, writing the scope too loosely, and building layers out of order. Each of those gets its own named stage here.
Design concept imagery
Sequence
From first conversation to documented close-out
Stage 01
Conversation
You describe the building, the roof type if known, and what prompted the call — a stain, a storm, an age concern, or a planned replacement.
Stage 02
Condition survey
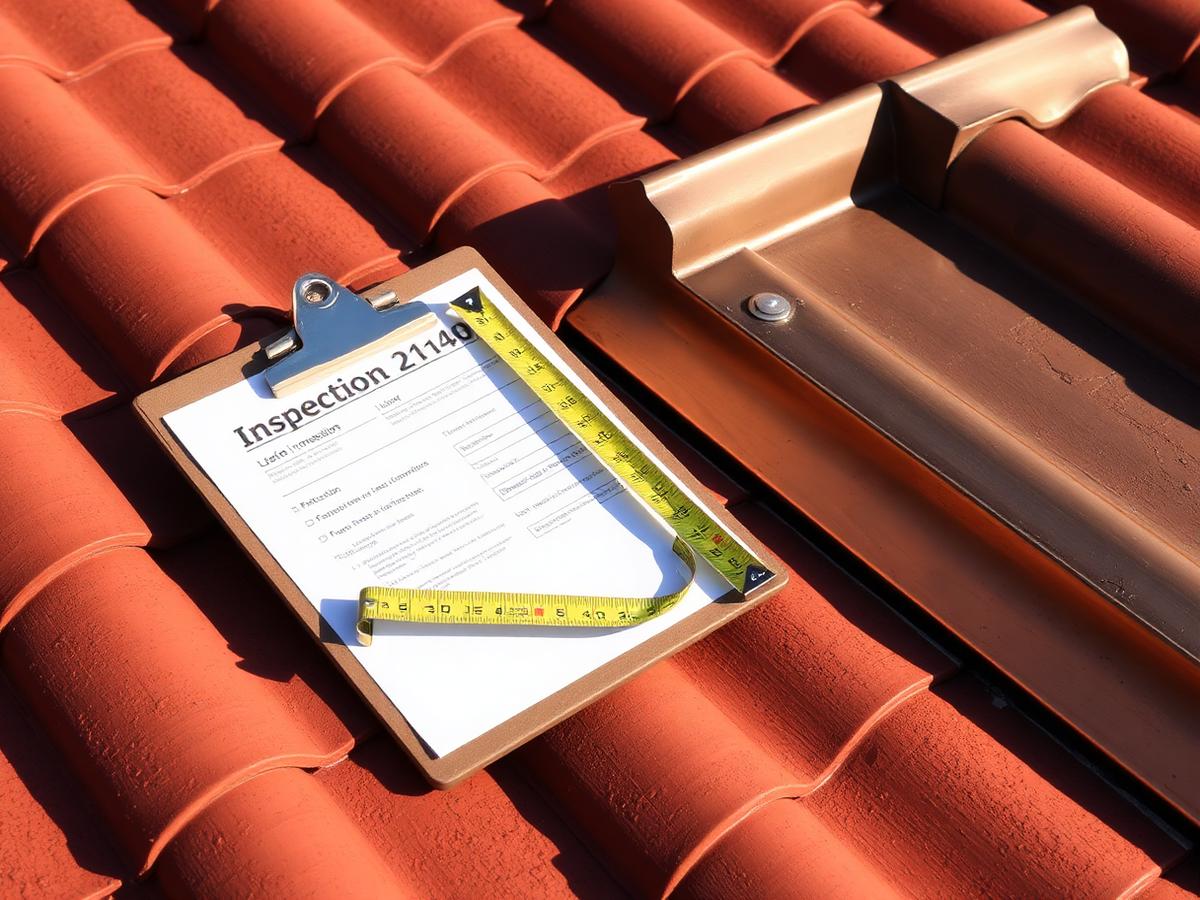
The roof is walked where it is safe to do so: covering condition, every penetration and junction, valleys, edge metal, drainage, and the attic underside where accessible.
Stage 03
Findings record
Photographs tied to locations, plus findings sorted into what needs attention now, what to monitor, and what is normal wear for the age of the assembly.
Stage 04
Written scope
Areas included, materials going back, details being rebuilt, debris handling, and how hidden deck repair will be measured if tear-off exposes it.
Stage 05
Staging
Materials and any specific flashing or boot components are confirmed and staged, along with access, protection for landscaping, and debris routing.
Stage 06
The work, in layer order
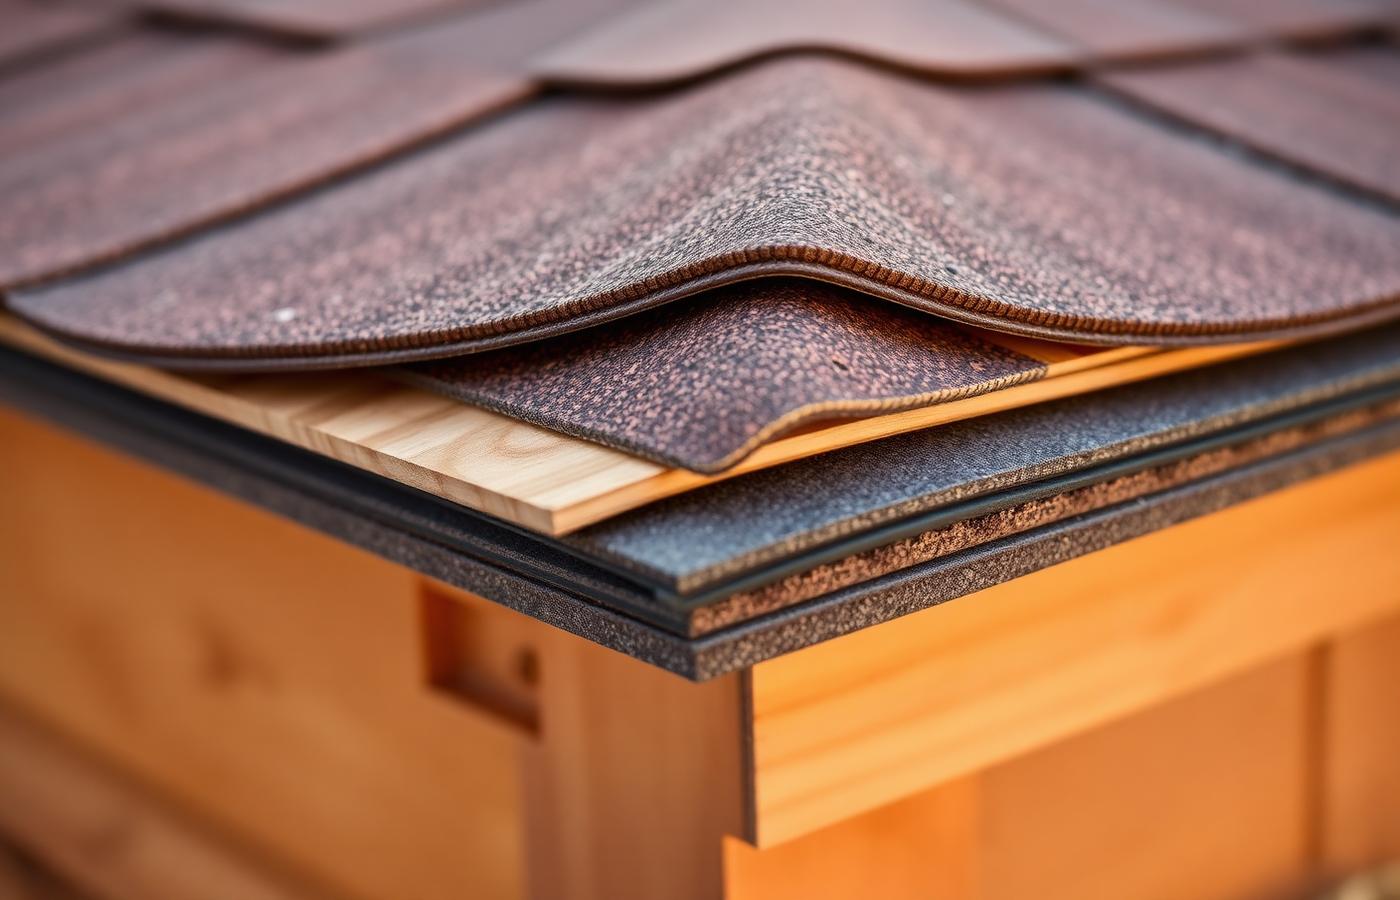
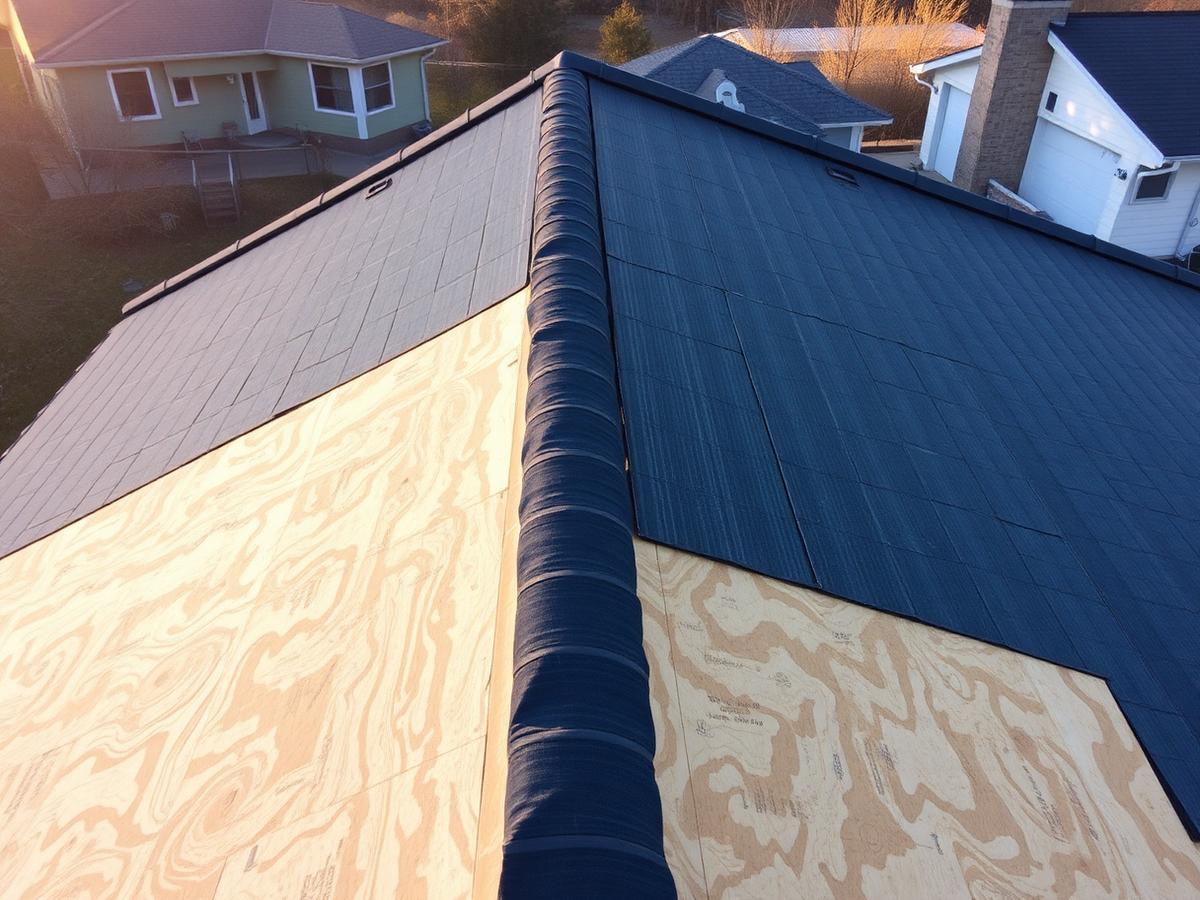
Remove, assess the deck, fasten, underlay, set edge and valley metal, rebuild penetration details, then install covering — bottom up, each layer lapping the one below.
Stage 07
Close-out
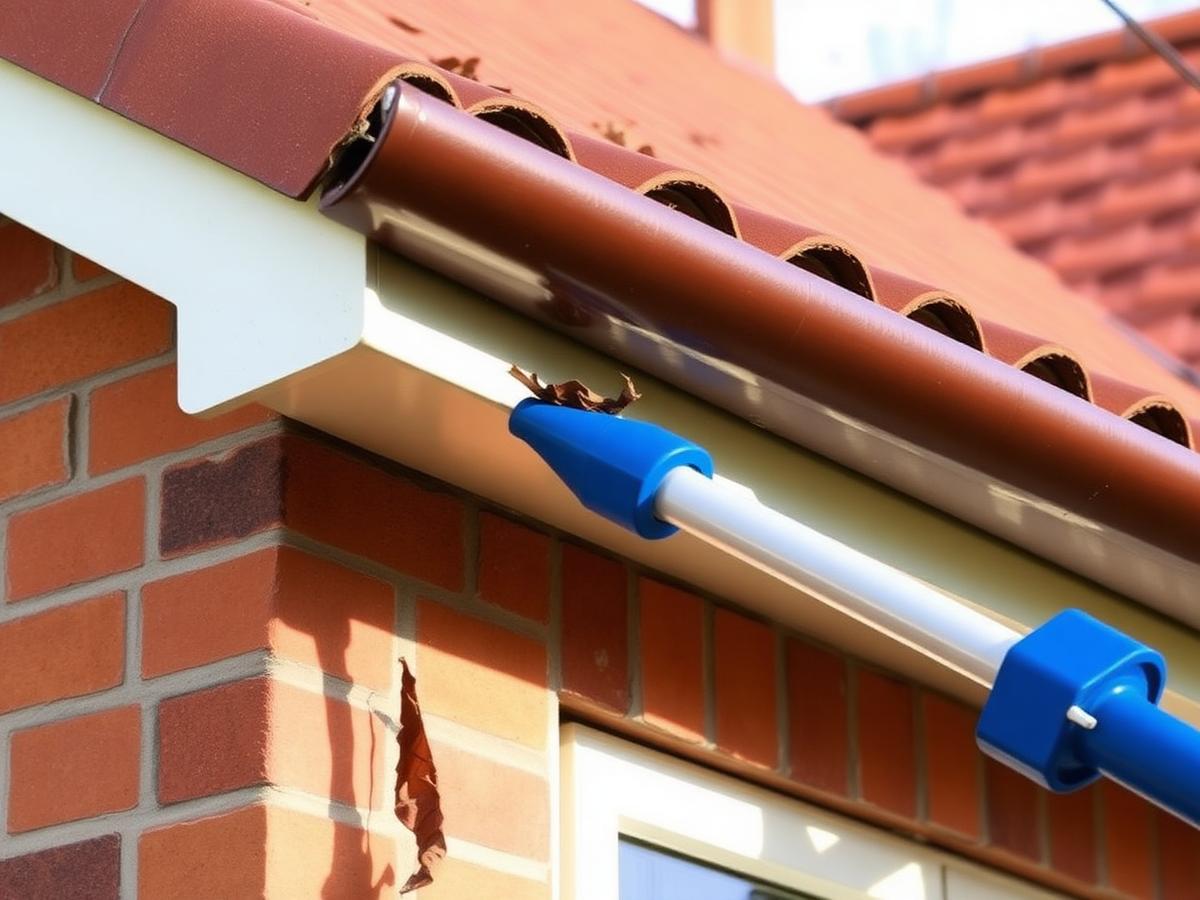
Photographs of the finished details, a drainage check, ground and gutter clearing, a magnet sweep for fasteners, and a written record of what was done.
 Concept visual
 Concept visual
 Concept visual
Preparation
What helps before work starts
| Item | Why it matters |
|---|---|
| Clear vehicle and equipment access | Material has to reach the roof and debris has to leave it, both on a short path. |
| Move patio furniture and planters | Debris and dust travel further than expected during tear-off. |
| Cover or clear attic storage | Fine dust and old fastener fragments fall through the deck as it is worked. |
| Take down loose wall items inside | Fastening and tear-off transmit vibration through the structure. |
| Plan for pets and quiet hours | Roof work is loud and continuous for most of the working day. |
| Note past leak locations | History narrows where to look hardest before the covering comes off. |
Deck condition is the honest unknown
Weather governs the schedule
No booking system here
FAQ
Process questions
› Why does an assessment come before a number?
Because the things that move a roofing price are invisible from the street: slope, access, covering type, how many penetrations and junctions exist, and the condition of the deck underneath. A figure produced without those is a guess that gets revised later, which is worse than waiting a day for a real scope.
› What is written into a roofing scope?
Which areas are included, what is being removed, what underlayment and edge metal go back, which details are rebuilt, how debris is handled, and — importantly — how unforeseen deck repair will be measured and priced if tear-off reveals it.
› Why can the scope change mid-project?
Deck condition is the usual reason. Sheathing is hidden until the covering is off, so soft or delaminated areas can only be found at that moment. A well-written scope anticipates this with a stated unit measure rather than a renegotiation.
› What happens at the end of the work?
A walk of the finished areas with photographs of the rebuilt details, confirmation that drainage paths run clear, a magnet sweep and debris check at ground level, and a written record of what was done. No warranty terms, ratings, or certifications are offered as part of that.
Planning roof work?
Useful notes to gather first: roof age if known, covering type, where any staining appears, and what weather brings it on. Contact details for this site are still being finalised; until then the assistant answers informational questions only.